I recently faced a bit of a pickle when I changed my website name from notbignoob.games to notbignoob.com. Not only were my images refusing to show up, but WordPress seemed stuck in the past, clinging to the old domain like a stubborn toddler. I even had to resort to hard-coding the new URL in wp-config.php just to get things moving. Thankfully, WP-CLI came to the rescue, making the whole renaming process a breeze!
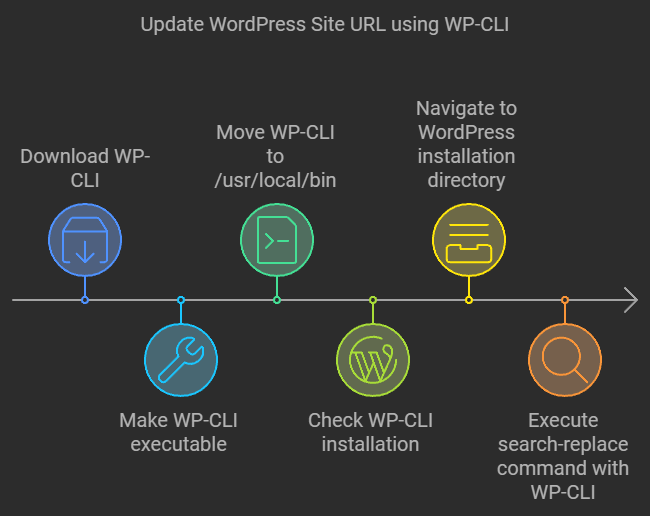
Ready to dive into the world of WP-CLI? Here’s a fun and straightforward guide to renaming your website without the headaches:
- Fetch the Magic Wand: First, grab the WP-CLI file with this command:
curl -O https://raw.githubusercontent.com/wp-cli/builds/gh-pages/phar/wp-cli.phar - Make it Executable: Give your new tool some powers:
chmod +x wp-cli.phar - Move it to the Right Spot: Get it where it needs to be:
sudo mv wp-cli.phar /usr/local/bin/wp - Check Your New Companion: Ensure everything’s set up correctly:
wp --info - Navigate to Your Site: Head to your WordPress installation directory:
cd /path/to/your/wordpress/installation - Execute the Magic Rename: Finally, let WP-CLI work its charm:
sudo -u www-data wp search-replace 'https://notbignoob.games' 'https://notbignoob.com' --all-tables
(Remember to swapwww-datafor your user if needed!)

And just like that, you’ve transformed your website’s identity with ease! WP-CLI isn’t just a tool; it’s your new best friend for managing WordPress. Happy renaming!

